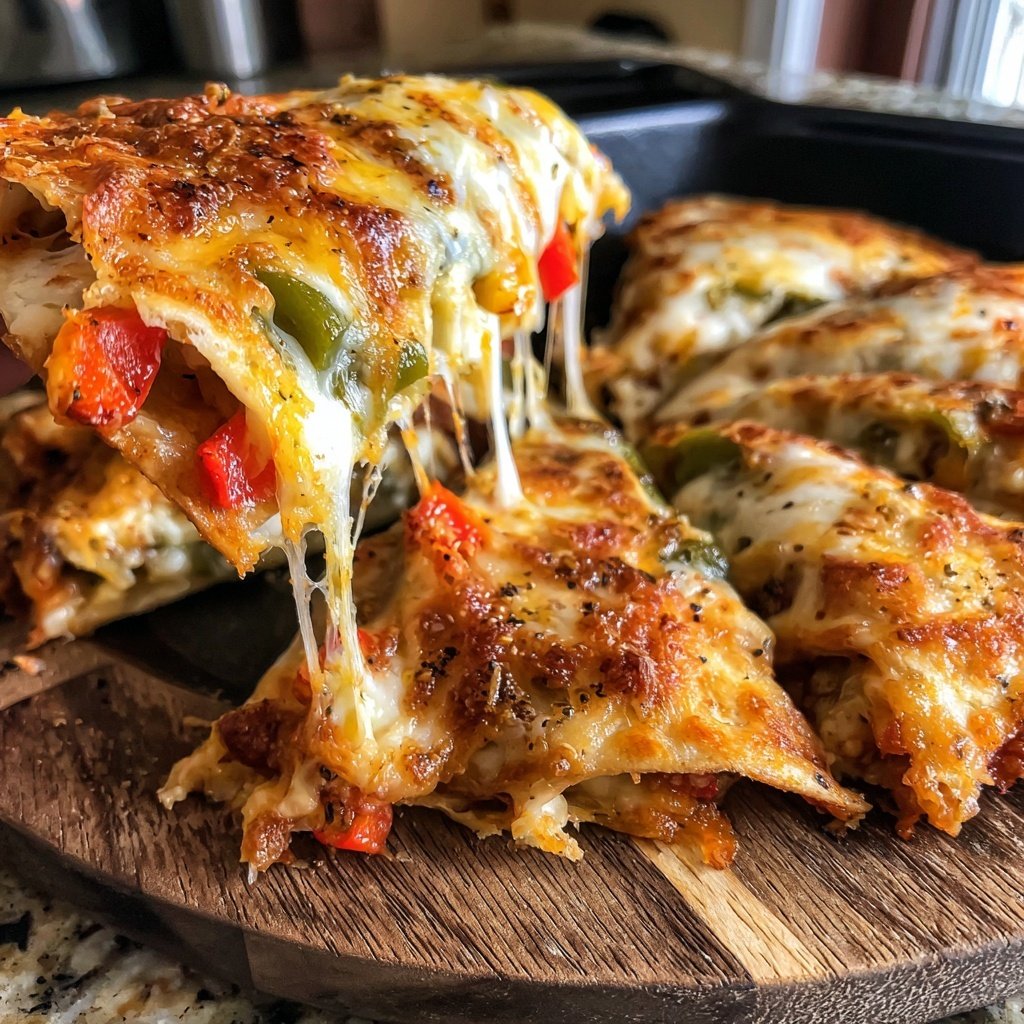
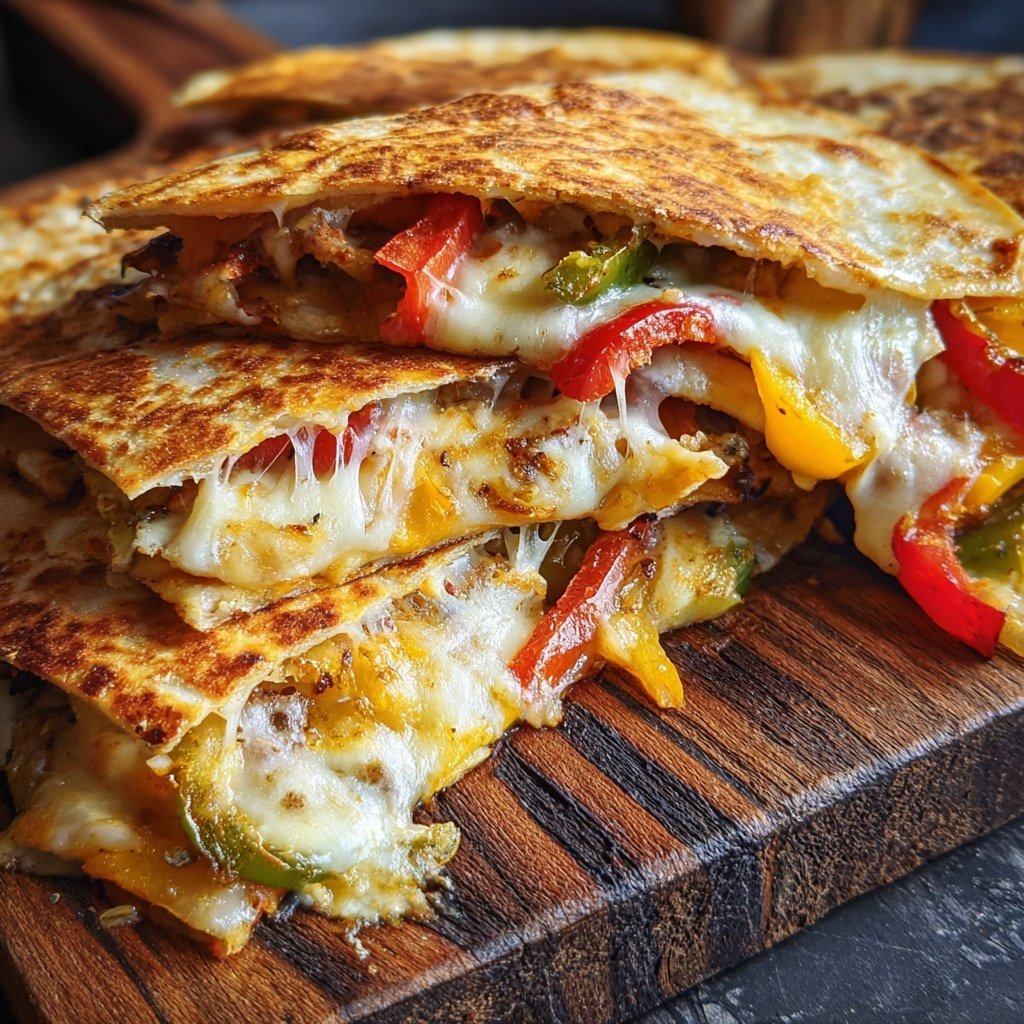
Super Bowl Food Sheet Pan Quesadillas
Highlighted under: Warm Family Favorites
I love making sheet pan quesadillas for the Super Bowl because they feed a crowd and are so easy to customize! I can load them with my favorite fillings, cut them into perfect portions, and serve them hot, fresh from the oven. Plus, the crispy edges and melty cheese create the ultimate comfort food experience. Whether it's game day or a casual get-together, these quesadillas are sure to be a hit, leaving everyone satisfied and asking for more!
When I first tried making quesadillas on a sheet pan, I was amazed at how effortlessly they came together. Instead of flipping each one individually, I could throw everything together and bake it at once, cutting down on prep time and dirty dishes. The first batch vanished in minutes, and I knew I had stumbled upon a game-day favorite!
To elevate the flavor, I sautéed onions and peppers before adding them to the quesadillas. This small step made a big difference in taste, giving them that extra layer of deliciousness. I recommend trying different combinations of fillings based on your preferences—there are no rules, just get creative!
Why You'll Love This Recipe
- Crispy edges with melty cheese that everyone craves
- Fully customizable with your favorite fillings
- Easy to make a large batch for gatherings
Mastering the Quesadilla Layers
When layering the ingredients for your sheet pan quesadillas, ensure that you distribute everything evenly. Aim for a balanced combination of cheese, beans, and veggies on each tortilla. This not only enhances the flavor but ensures that every bite is satisfying. I recommend starting with a layer of cheese on the bottom to create a melty base, followed by the toppings, and finishing with another layer of cheese to achieve that beautiful golden crust.
The choice of cheese is crucial for achieving the right flavor and texture. I love mixing cheddar and mozzarella because cheddar offers that sharp flavor while mozzarella adds amazing stretchiness. If you prefer a little kick, consider adding pepper jack cheese or some finely chopped jalapeños to the filling. Just remember, if you decide to switch up the cheese, stick to a mix of cheeses that melt well to maintain the quesadilla's integrity.
Troubleshooting Common Issues
A common issue when making sheet pan quesadillas is the tortillas becoming soggy. To prevent this, ensure that your filling ingredients, especially any vegetables, are not overly watery. Sautéed vegetables should be cooked until they're just softened and have released most of their moisture. You can also let the cooked filling cool slightly before assembling, as this reduces steam under the tortillas.
If you encounter uneven crispness during baking, try rotating the pan halfway through cooking. Oven hot spots can lead to uneven cooking and browning. Additionally, make sure to use a large enough baking sheet that gives the quesadillas space to breathe. If baking multiple sheets, keep an eye on the ones cooking in the lower rack, as they may take longer to get that perfect golden color.
Serving and Storage Ideas
When it comes to serving the sheet pan quesadillas, presentation matters! I recommend garnishing with fresh cilantro, sliced avocados, or a squeeze of lime juice to add brightness. Pair them with dips like guacamole, salsa, or sour cream to elevate the flavor experience. These quesadillas also work wonderfully as a party platter; cut them into smaller wedges for easy grabbing, making them perfect finger foods for your guests.
If you have leftovers or want to make a batch in advance, store them in an airtight container in the refrigerator for up to three days. Reheating is simple - just pop them back in the oven at 350°F (175°C) for about 10-15 minutes until warmed through. You can also freeze them. After baking, let the quesadillas cool completely, then wrap them tightly and store in the freezer for up to two months. For reheating frozen quesadillas, bake from frozen at 375°F (190°C) for about 20-25 minutes.
Ingredients
Ingredients
For the Quesadillas
- 8 large flour tortillas
- 2 cups shredded cheddar cheese
- 2 cups shredded mozzarella cheese
- 1 can black beans, drained and rinsed
- 1 cup corn, canned or frozen
- 1 red bell pepper, diced
- 1 green bell pepper, diced
- 1 small onion, diced
- 1 tablespoon olive oil
- 1 teaspoon taco seasoning
- Salt and pepper to taste
Instructions
Instructions
Preheat the Oven
Preheat your oven to 400°F (200°C) and line a large baking sheet with parchment paper.
Sauté the Vegetables
In a skillet over medium heat, heat the olive oil. Add the onion and bell peppers, cooking until softened, about 5 minutes. Stir in the taco seasoning and season with salt and pepper.
Layer the Quesadillas
On the prepared baking sheet, lay 4 tortillas flat. Layer half of the cheddar and mozzarella cheeses, black beans, corn, sautéed vegetables, and the remaining cheese on top. Place the other tortillas on top and gently press down.
Bake
Bake in the preheated oven for 20-25 minutes or until the tortillas are golden brown and the cheese is bubbly.
Serve
Remove from the oven and let cool for a few minutes. Cut into wedges and serve hot with your favorite toppings!
Pro Tips
- Feel free to add any other fillings you love, such as cooked chicken, beef, or different vegetables. Serve with salsa, guacamole, or sour cream on the side for added flavor!
Ingredient Variations
Feel free to get creative with the fillings! Vegetarians can add roasted zucchini or mushrooms for a savory twist, while carnivores might enjoy shredded chicken or ground beef. These protein options not only enhance the flavor but also provide extra substance to the quesadillas. Just remember to adjust cooking times slightly for raw meats, ensuring they are fully cooked before adding to the quesadilla.
If you're looking for gluten-free options, consider using corn tortillas instead of flour. They will bring a unique flavor and crispness that pairs beautifully with the fillings. When using corn tortillas, be mindful to handle them gently as they can crack more easily than flour tortillas. You might want to warm them slightly before layering, which makes them more pliable.
Make-Ahead Strategy
One of the best ways to streamline your Super Bowl party is by preparing the quesadilla filling a day in advance. You can sauté the vegetables and combine them with the beans and corn, then store the mixture in an airtight container in the fridge. This makes assembling and baking the quesadillas on game day quick and effortless, giving you more time to enjoy the festivities.
Another great make-ahead alternative is to assemble the quesadillas fully and freeze them before baking. Layer the filled tortillas on parchment paper in a baking dish, then cover and freeze. When ready to bake, there's no need to thaw; just increase your baking time by about 5-10 minutes, ensuring they are hot throughout and the cheese is melted.
Questions About Recipes
→ Can I prepare these quesadillas ahead of time?
Yes, you can assemble the quesadillas and store them in the refrigerator for a few hours before baking them.
→ What can I use instead of cheese?
You can substitute cheese with a dairy-free alternative or skip it altogether and use more vegetables.
→ Can I freeze the quesadillas?
Absolutely! Just wrap them tightly and freeze before baking. To cook from frozen, just add a few minutes to the baking time.
→ What is the best way to store leftovers?
Store any leftovers in an airtight container in the refrigerator for up to 3 days. Reheat in the oven for best results!
Super Bowl Food Sheet Pan Quesadillas
Created by: Morgan Reeves
Recipe Type: Warm Family Favorites
Skill Level: Easy
Final Quantity: 8 servings
What You'll Need
For the Quesadillas
- 8 large flour tortillas
- 2 cups shredded cheddar cheese
- 2 cups shredded mozzarella cheese
- 1 can black beans, drained and rinsed
- 1 cup corn, canned or frozen
- 1 red bell pepper, diced
- 1 green bell pepper, diced
- 1 small onion, diced
- 1 tablespoon olive oil
- 1 teaspoon taco seasoning
- Salt and pepper to taste
How-To Steps
Preheat your oven to 400°F (200°C) and line a large baking sheet with parchment paper.
In a skillet over medium heat, heat the olive oil. Add the onion and bell peppers, cooking until softened, about 5 minutes. Stir in the taco seasoning and season with salt and pepper.
On the prepared baking sheet, lay 4 tortillas flat. Layer half of the cheddar and mozzarella cheeses, black beans, corn, sautéed vegetables, and the remaining cheese on top. Place the other tortillas on top and gently press down.
Bake in the preheated oven for 20-25 minutes or until the tortillas are golden brown and the cheese is bubbly.
Remove from the oven and let cool for a few minutes. Cut into wedges and serve hot with your favorite toppings!
Extra Tips
- Feel free to add any other fillings you love, such as cooked chicken, beef, or different vegetables. Serve with salsa, guacamole, or sour cream on the side for added flavor!
Nutritional Breakdown (Per Serving)
- Calories: 320 kcal
- Total Fat: 12g
- Saturated Fat: 5g
- Cholesterol: 30mg
- Sodium: 380mg
- Total Carbohydrates: 40g
- Dietary Fiber: 5g
- Sugars: 3g
- Protein: 12g